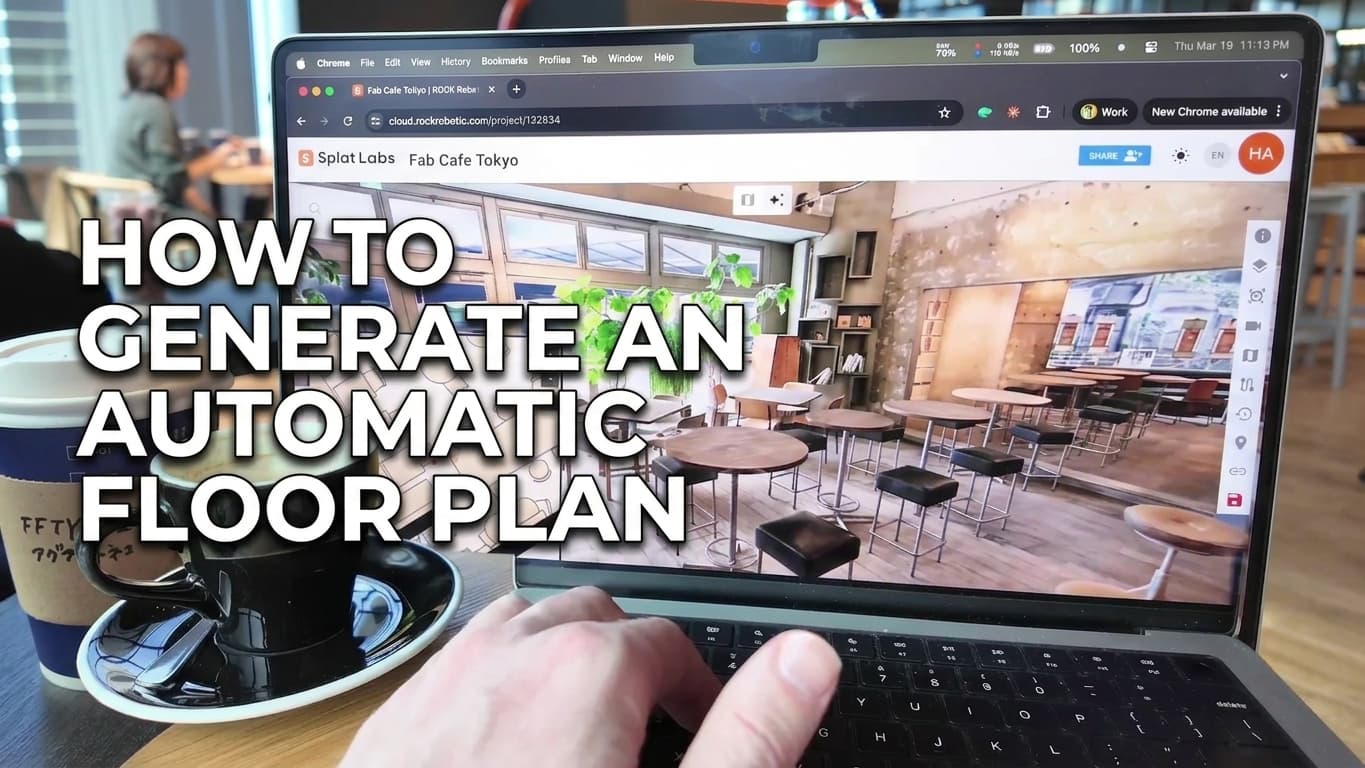
When you open a Gaussian Splat in the SplatLABS Viewer, you're not just a passive observer — you're a director. The Camera Settings panel gives you precise control over how you move through and frame every scene, from adjusting your eye level to simulating the exact look of an ARRI Alexa on a 21mm wide lens. Whether you're creating a cinematic fly-through or simply exploring a space naturally, these settings shape the entire experience.
Here's a complete breakdown of every control in the Camera Settings panel and how to use each one.
Step 1: Open Camera Settings
Camera Settings live in the right-hand toolbar of the SplatLABS Viewer. Click the camera icon to expand the panel.
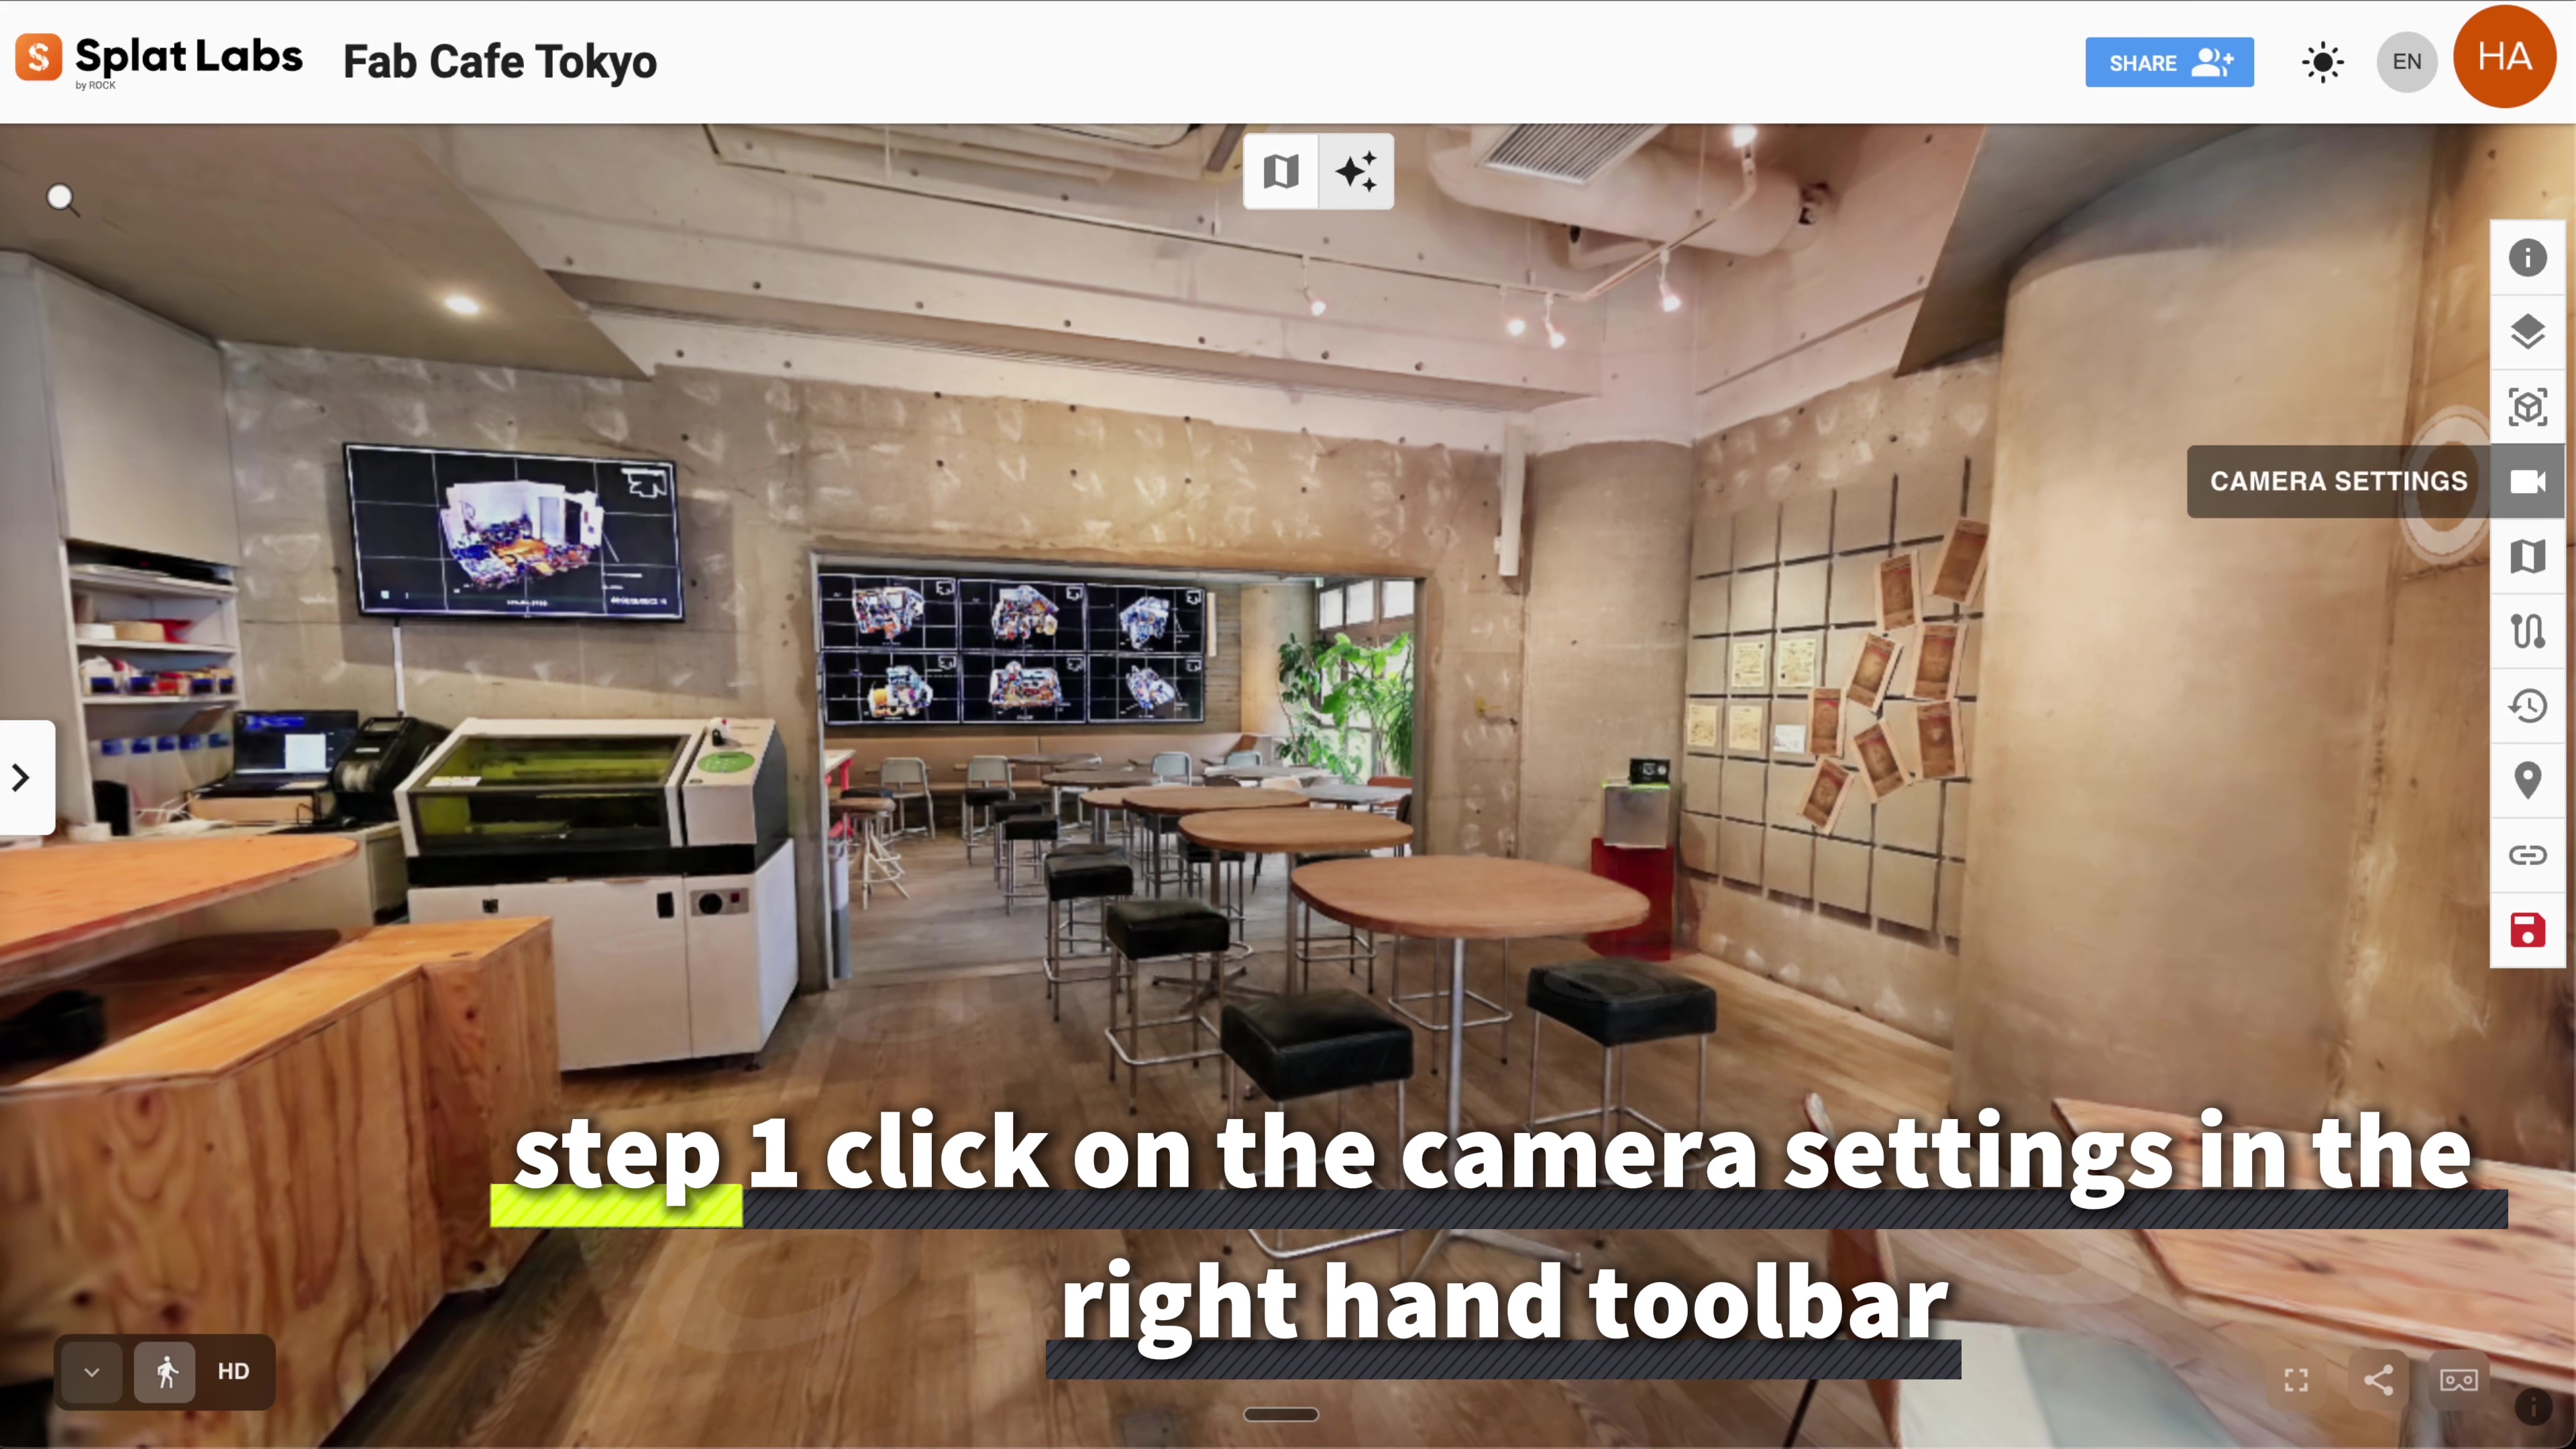 The Camera Settings icon in the right-hand toolbar — your starting point for full viewer control.
Player Height
The first control you'll see is Player Height — a slider that sets how high your point of view sits within the scene when using gravity mode.
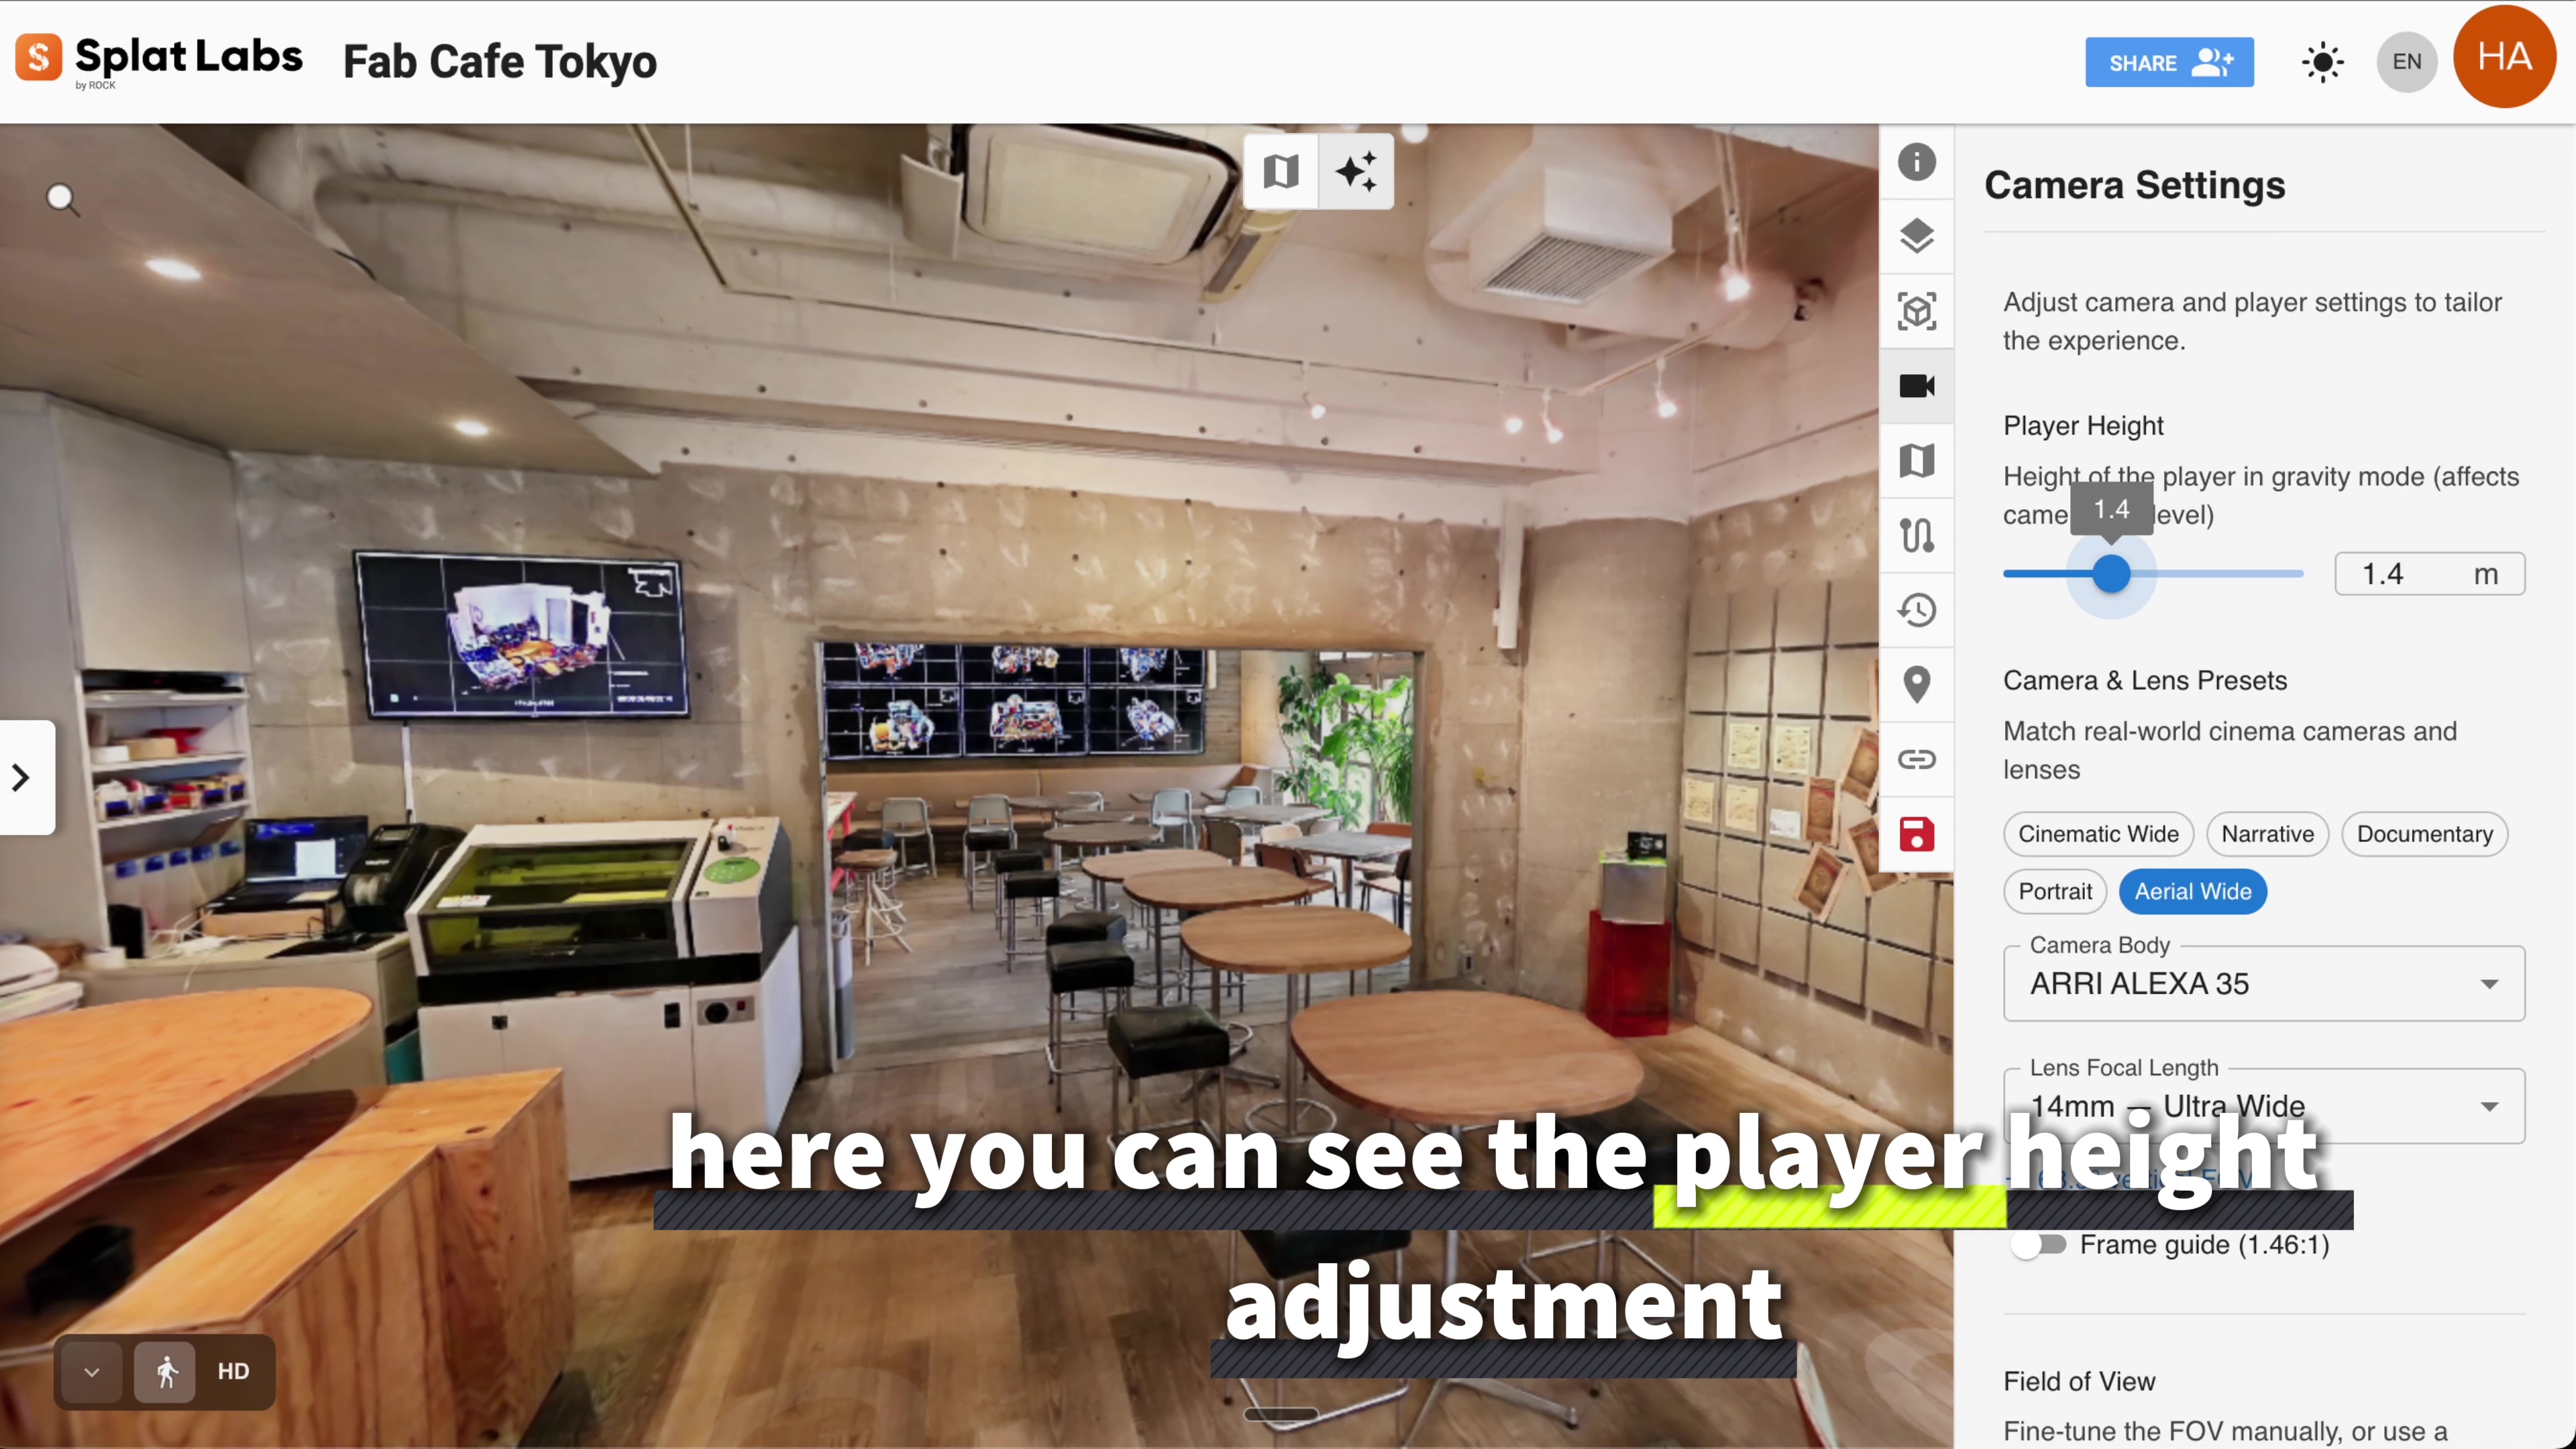 Player Height controls your eye level in the scene, from ground level all the way up.
By default, player height is set to 1.4 m — a natural standing eye level. You can drag the slider lower to simulate a crouched or ground-level perspective, or push it higher to get an elevated viewpoint, like standing on a mezzanine or looking down from a balcony.
This is especially useful in architectural and real estate walkthroughs, where showing a space from the right eye level can make rooms feel more natural and proportionate to a prospective buyer or client.
Camera & Lens Presets
This is where SplatLABS truly stands apart as a professional tool. The Camera & Lens Presets section lets you replicate the exact look of real-world cinema cameras and lenses inside your Gaussian Splat.
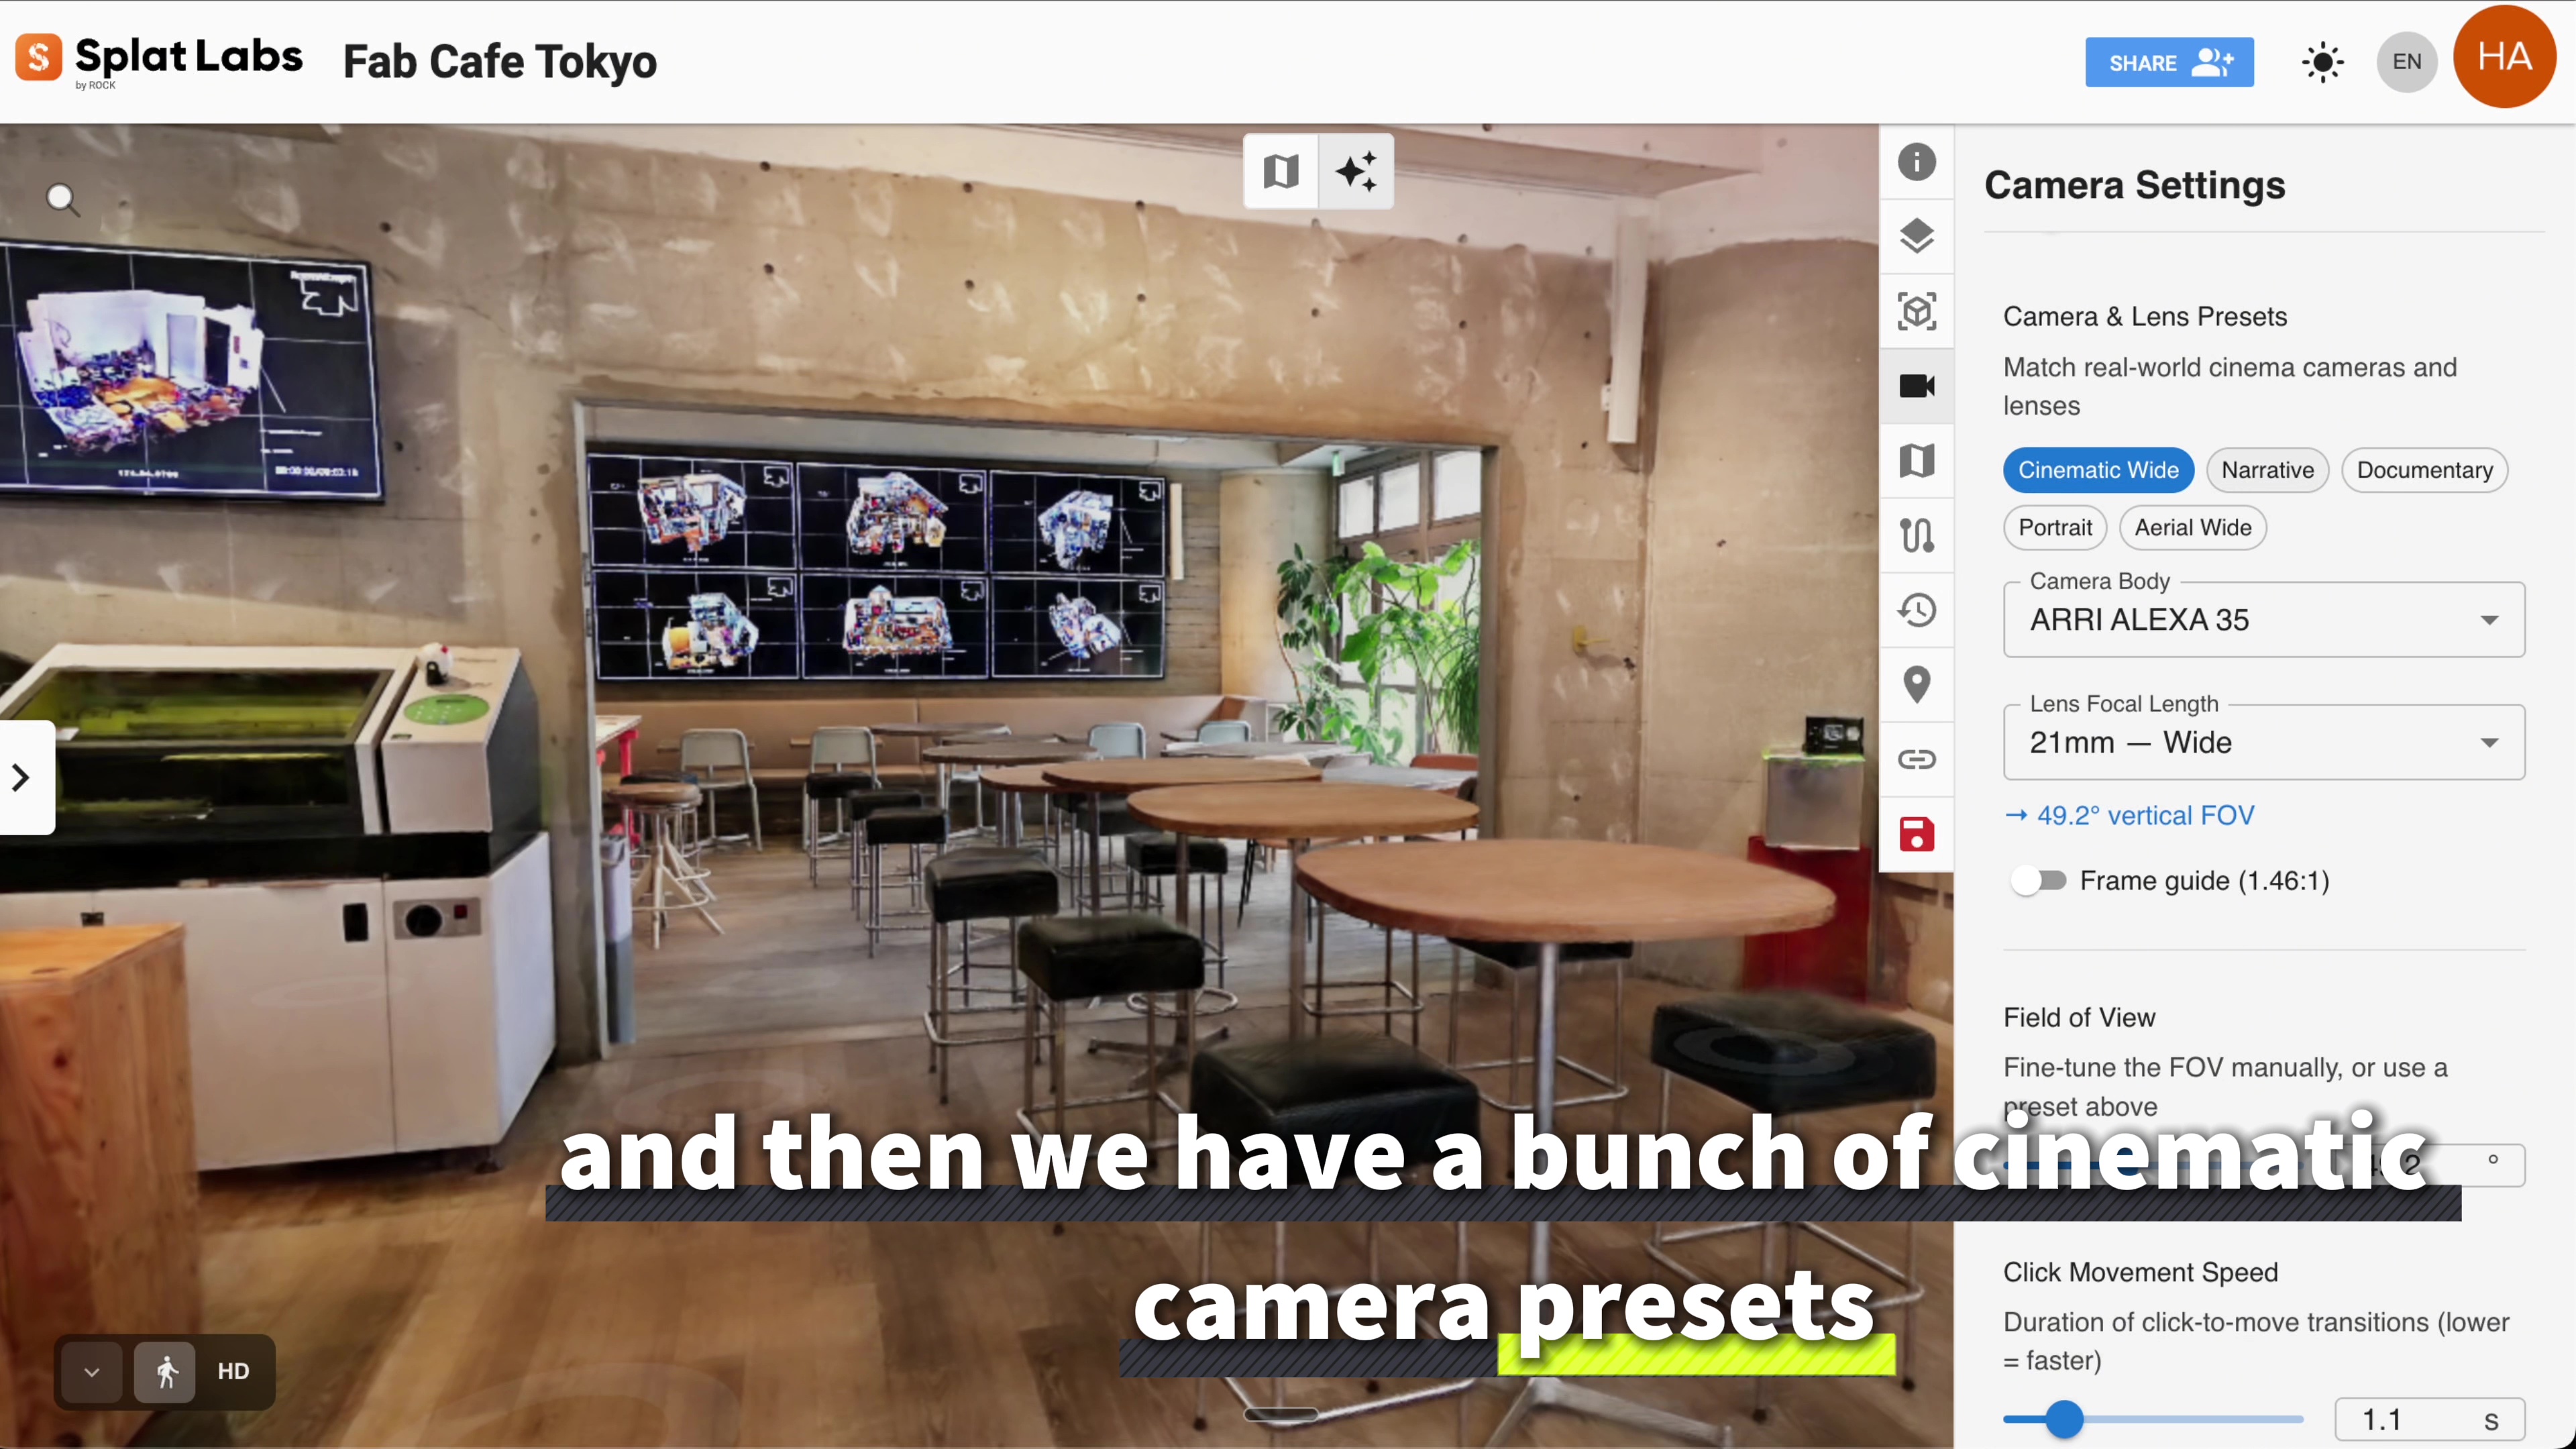 Choose from professional cinema camera bodies and lens focal lengths — including ARRI, Sony, RED, Canon, and Blackmagic.
Quick Presets
At the top of the panel, you'll find one-click cinematic presets for common use cases:
| Preset | Best For |
|---|---|
| Cinematic Wide | Dramatic establishing shots |
| Narrative | Storytelling and documentary feel |
| Documentary | Natural, observational framing |
| Portrait | Tight, subject-focused compositions |
| Aerial Wide | Drone-style overhead or wide views |
Professional Camera Bodies
For precise control, choose from a full library of professional cinema camera bodies, each with the accurate sensor size and field of view characteristics:
- ARRI ALEXA 65 — Large format, ultra-wide sensor
- ARRI ALEXA LF — Large format full-frame
- ARRI ALEXA 35 — Super 35 with ALEXA color science
- ARRI ALEXA Mini / Mini LF — Compact ALEXA bodies
- Sony Venice 2 — Full-frame, cinema-grade color
- RED V-RAPTOR 8K — High-resolution large format
- RED Komodo 6K — Compact Super 35
- Canon EOS C500 Mark II — Super 35 cinema EOS
- Blackmagic URSA Mini Pro — Versatile Super 35
Lens Focal Lengths
Every camera body above supports the full focal length range — from 14mm ultra-wide all the way to 135mm telephoto. You can also select from the cinematic preset focal lengths (Cinematic Wide, Narrative, Documentary, Portrait, and Aerial Wide) to jump instantly to an industry-standard framing.
A Frame Guide overlay is available to show you the exact crop lines for your chosen format — perfect for pre-visualizing a shot before a real-world shoot, or for creating Fly-Through Movies that match a specific cinematic look.
Field of View
If you want manual control without locking to a specific camera body, the Field of View (FOV) slider lets you fine-tune the lens angle directly. This gives you a quick way to go wide or telephoto without navigating through the full preset menus.
Click Movement Speed
The final control is Click Movement Speed — and it's one of the most underrated settings in the viewer.
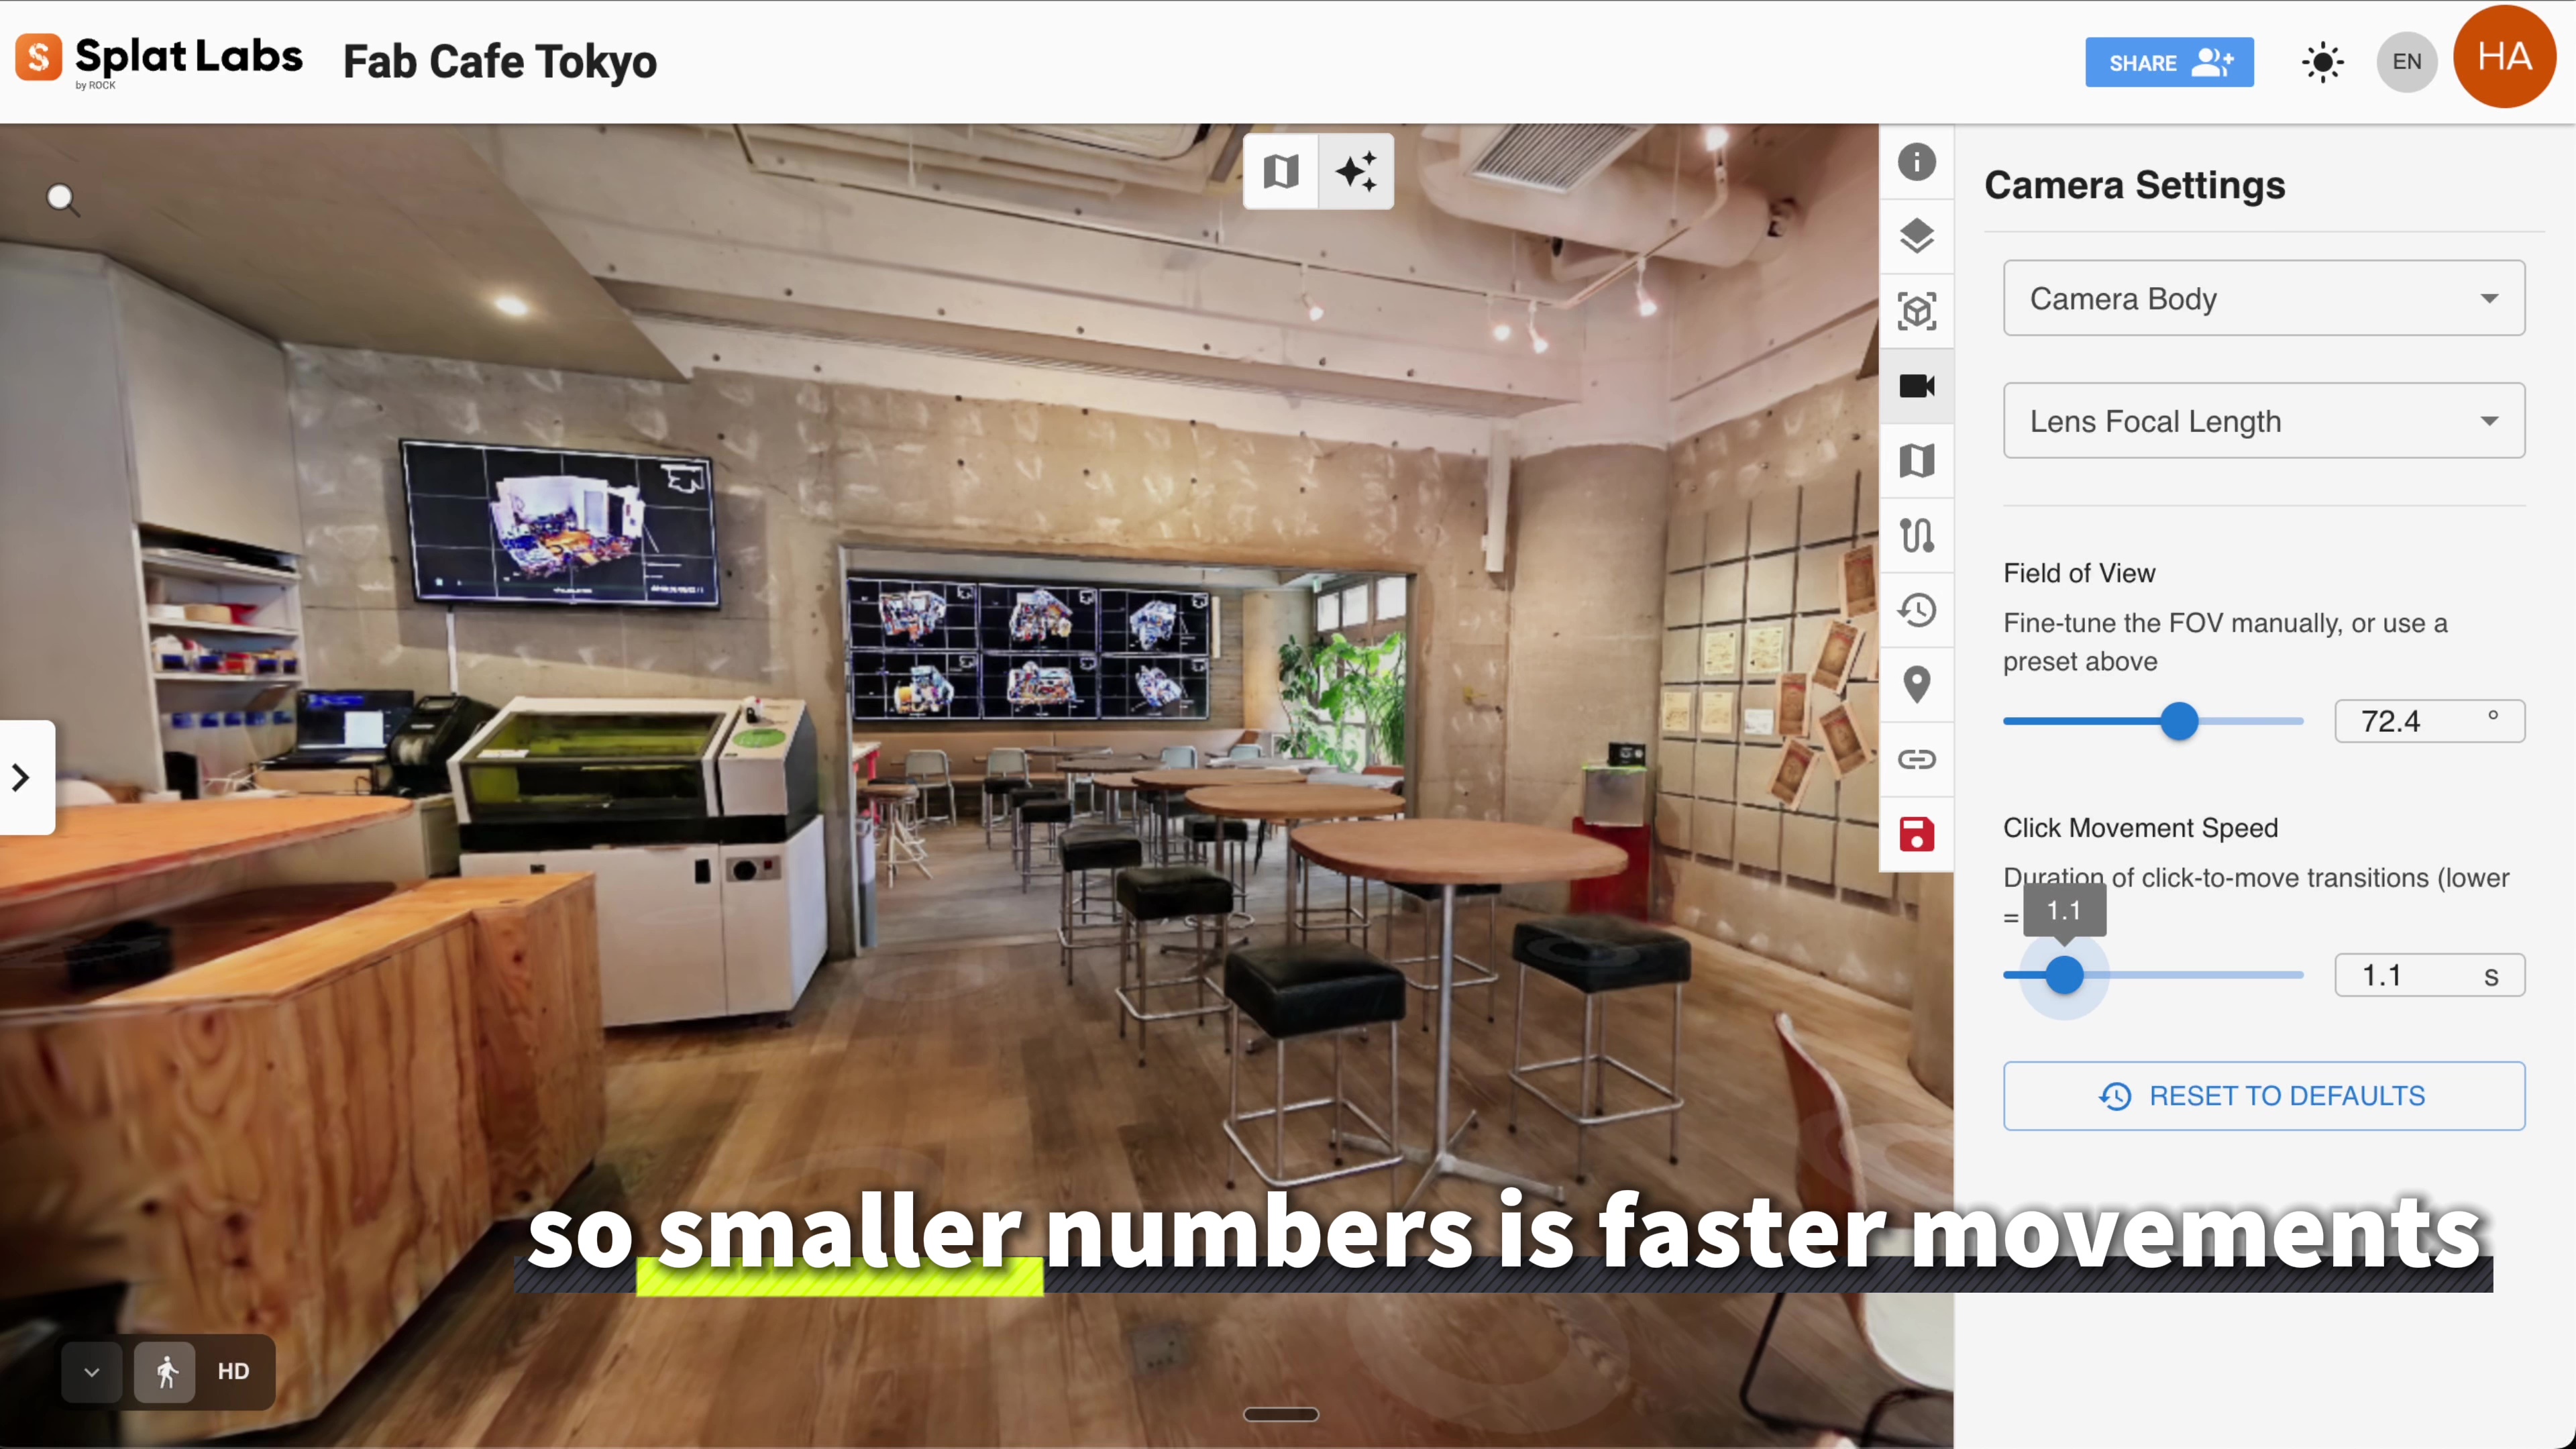 Lower numbers = faster teleport; higher numbers = a slow, cinematic creep through the scene.
When you click to move in the SplatLABS Viewer, the scene transitions you to that point. The speed slider controls how fast that transition happens:
- Lower numbers (e.g., 0.5–1.0) — Fast snap, quick navigation
- Higher numbers (e.g., 2.0–3.0+) — Slow, smooth drift that feels cinematic
For most walkthroughs and client presentations, a slightly slower speed (around 1.1–1.5) gives the experience a natural, immersive feel — like gently stepping through the space rather than teleporting. For production work where you're jumping between distant areas quickly, dialing it down keeps navigation snappy.
Hit Reset to Defaults at any time to return all settings to their original values.
Bringing It Together: Camera Settings for Professional Output
The Camera Settings panel isn't just about exploration — it's a production tool. When combined with SplatLABS' Fly-Through Movies feature, the camera body and lens presets let you create cinematic video exports that match a specific look or format. Imagine pre-visualizing a commercial shoot by walking the location in your Gaussian Splat at 21mm on an ARRI ALEXA LF before a single crew member arrives on set.
For real estate professionals, matching a standard 24mm documentary or narrative preset creates consistent, relatable walkthroughs that feel natural to buyers. For architecture and construction, the elevated player height combined with a wide-angle preset gives stakeholders a clear spatial read of any space.
You can try all of these settings today with any Gaussian Splat on the SplatLABS platform — no special equipment required to view.
Want to see this in action? Watch the full walkthrough video above for a live demonstration of every Camera Settings control in the SplatLABS Viewer.