Why Gravity Locations Matter
If you have ever used a Matterport tour, you know the experience: you click or tap on the floor and instantly move to that spot. That kind of guided navigation makes 3D spaces easy for anyone — especially on mobile — and it keeps viewers from getting lost or missing key areas.
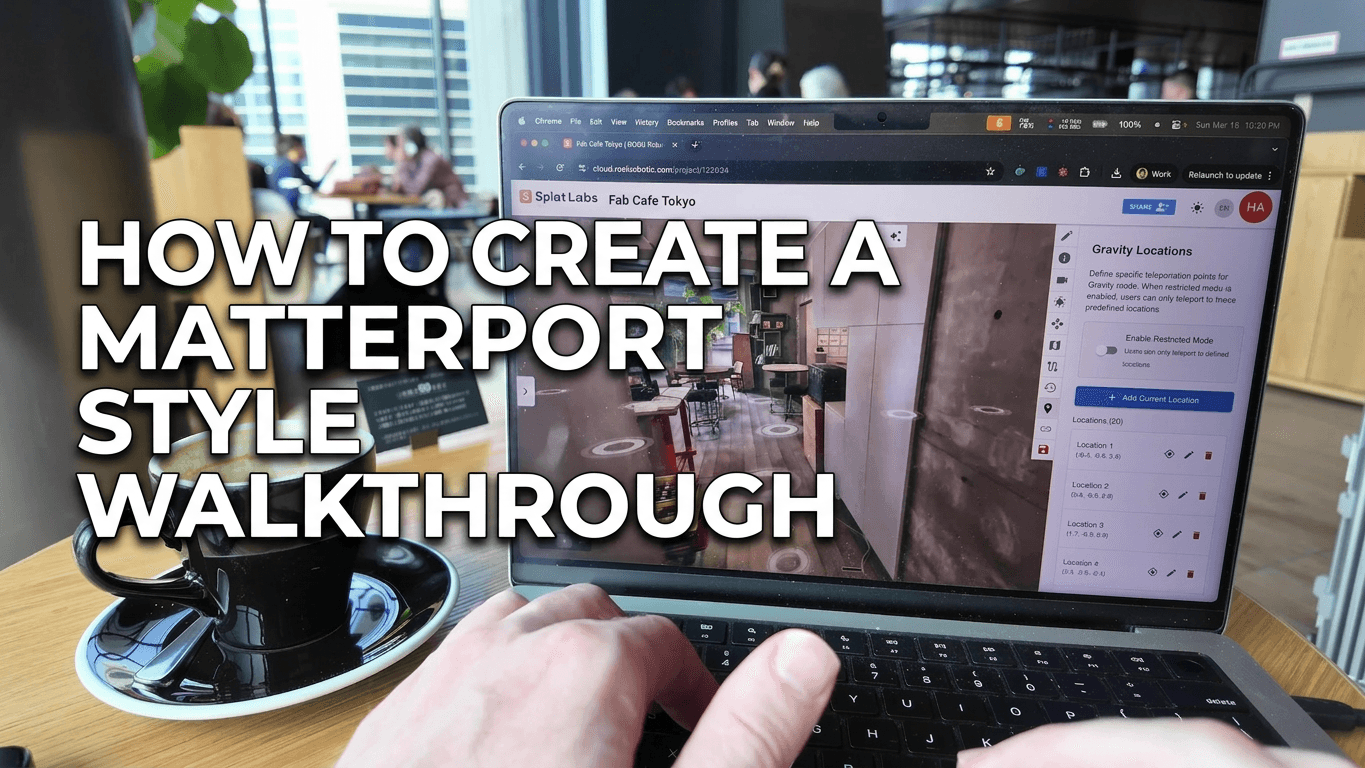
In Splat Labs Cloud, Gravity Locations give you the same behavior. You define specific teleportation points; when Restricted Mode is on, viewers can only move between those points. The result is a familiar, Matterport-style walkthrough that works in any browser, on any device, with no app download.
Watch the full walkthrough:
What you will learn:
- How to open the Gravity Locations panel and temporarily disable restricted mode so you can move freely
- How to add teleport points by double-clicking to a spot, then clicking Add Current Location
- Why adding many locations (every few feet) improves the experience
- How to turn restricted mode back on and save so everyone — including mobile users — sees the same guided tour
Prerequisites
- A Splat Labs Cloud account (free tier works)
- A project with at least one Gaussian Splat already uploaded and processed
Step 1: Open Gravity Locations and Turn Off Restricted Mode
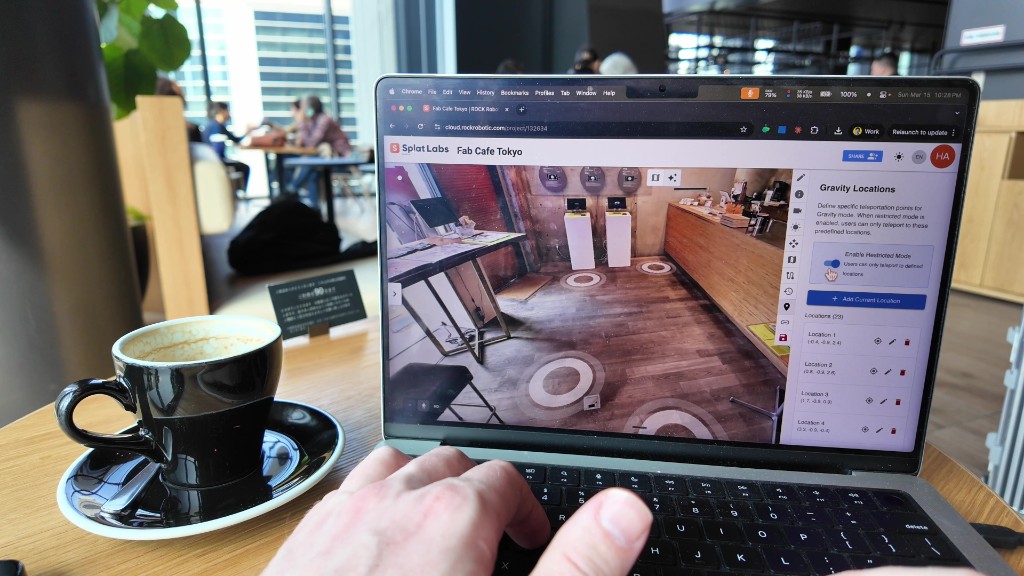
Open your project in Splat Labs Cloud. On the right-hand toolbar, click the pin icon (Gravity Locations) to open the Gravity Locations sidebar.
By default, restricted mode may be on. To place locations, you need to move freely by double-clicking the ground in the 3D view. So first, turn Enable Restricted Mode off.
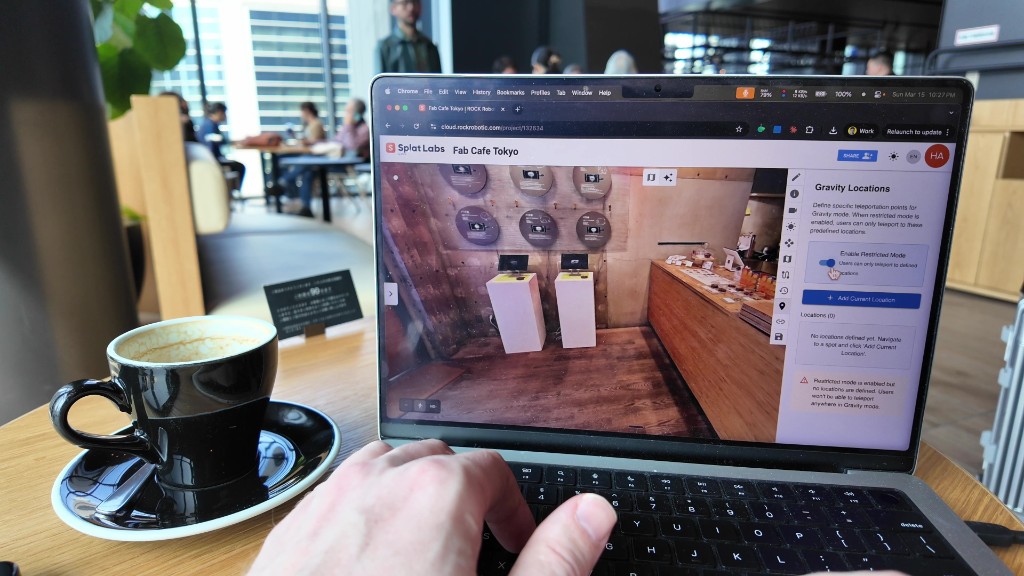 Open the Gravity Locations panel (pin icon) and turn off Enable Restricted Mode so you can double-click the ground to navigate.
Once it is off, double-click anywhere on the floor in the 3D view to jump to that spot. You will use this to move around and add locations.
Step 2: Double-Click the Ground to Navigate to a Spot
Move through your space by double-clicking on the floor in the 3D viewer. Each double-click teleports you to that point. Go to every area where you want viewers to be able to stand — near windows, key furniture, entrances, and any highlight you care about.
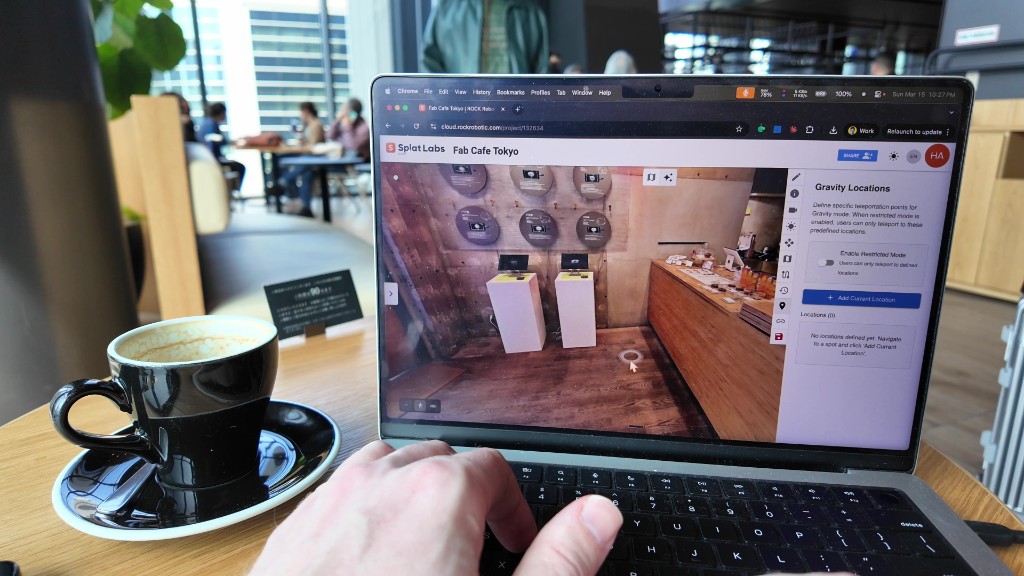 Double-click the ground to jump to a spot. Navigate to each place where you want to add a gravity location.
Step 3: Add the Current Location
When you are standing where you want a teleport point, click the blue "+ Add Current Location" button in the Gravity Locations sidebar. That adds your current position to the list.
Repeat: double-click to move → click Add Current Location. Do this throughout the entire space. More locations (every few feet) make the tour easier to follow, especially for people on mobile or new to 3D viewers.
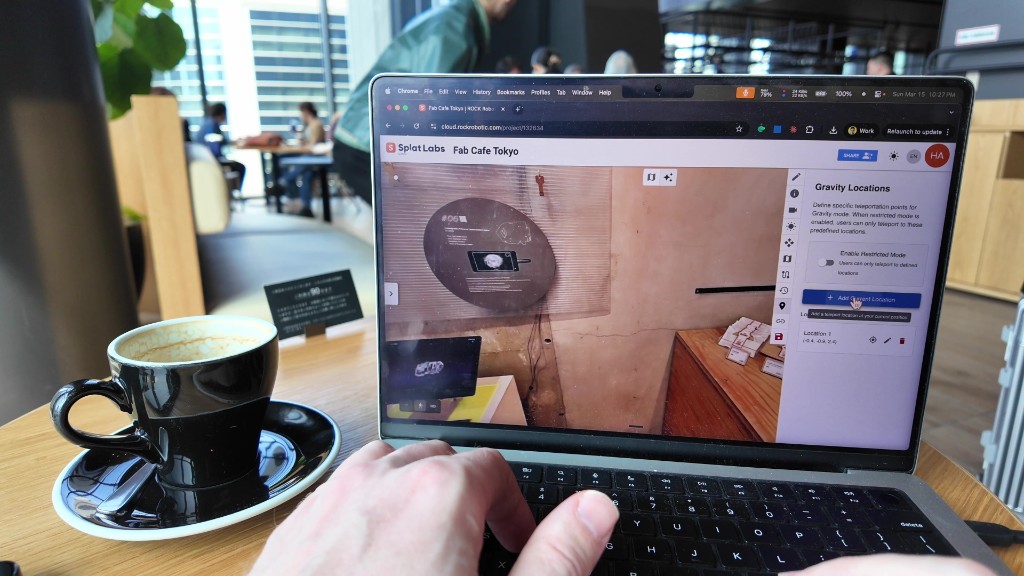 At each spot you want as a waypoint, click + Add Current Location in the sidebar.
Step 4: Add Many Locations Across the Space
Keep moving and adding. Hit the main areas and the corners — anywhere you would want a client or visitor to “stand.” The sidebar shows your growing list of locations (with coordinates). You can use the eye icon to jump to a location, the pencil to edit it, or the trash icon to remove it.
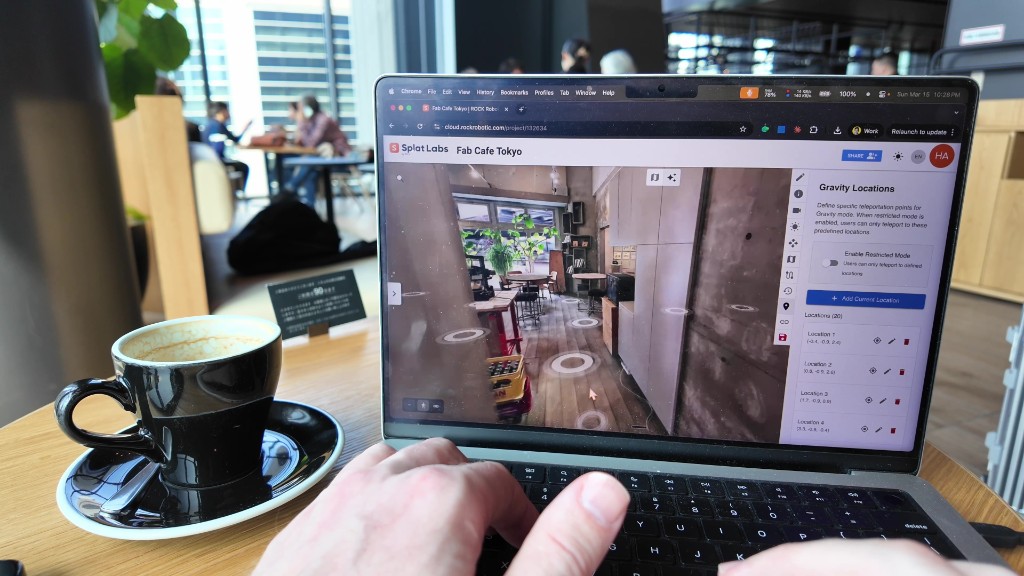 After adding locations across the space, the list in the sidebar shows all defined waypoints. You can jump to, edit, or delete any of them.
Step 5: Turn Restricted Mode Back On and Save
When you are done placing locations, turn Enable Restricted Mode back on. Now, in the 3D view, you will see the gravity positions as circles on the floor. Double-clicking any circle (or the ground at those spots) will teleport you there — and the same will be true for your viewers.
Click Save so that everyone with access to the project sees the updated gravity locations, including on mobile.
 With Enable Restricted Mode back on, gravity positions appear on the floor. Double-click any spot to teleport. Then click Save so changes apply for all viewers.
Step 6: View the Tour on Mobile
Open the same project on your phone or tablet (same share link or from the project list). The gravity positions appear on the ground in the viewer. Tap a circle to move to that spot. The experience matches a Matterport-style tour: tap-to-walk waypoints, with the option to turn off restricted mode and explore in full 3D if you prefer.
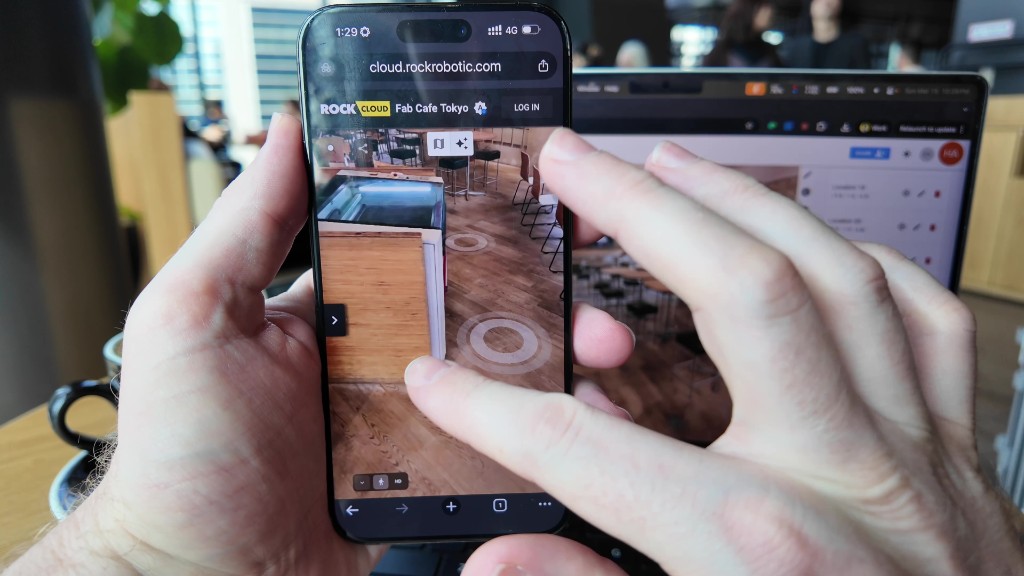 On mobile, gravity positions show as tappable circles on the floor. Tap to move — same idea as Matterport, with no app install.
Quick Recap
| Step | Action |
|---|---|
| 1 | Open Gravity Locations (pin icon), turn Enable Restricted Mode off |
| 2 | Double-click the ground to move through the space |
| 3 | At each desired spot, click + Add Current Location |
| 4 | Repeat until you have many locations (every few feet) |
| 5 | Turn Enable Restricted Mode back on, then click Save |
| 6 | Share the project — viewers on desktop and mobile see tap/click-to-move waypoints |
Adding plenty of locations really does create an easier, more familiar experience for anyone — especially on mobile or for people who are not used to free 3D navigation. You can always turn restricted mode off again later if you want viewers to roam freely.
What Else You Can Do in Splat Labs
- Portals — Connect multiple scans into one seamless tour
- AI Floor Plans — Generate floor plans from your splats
- Embed & Share — Put the viewer on Zillow, MLS, or any website
- Precision Measurements — Measure distances and areas in 3D
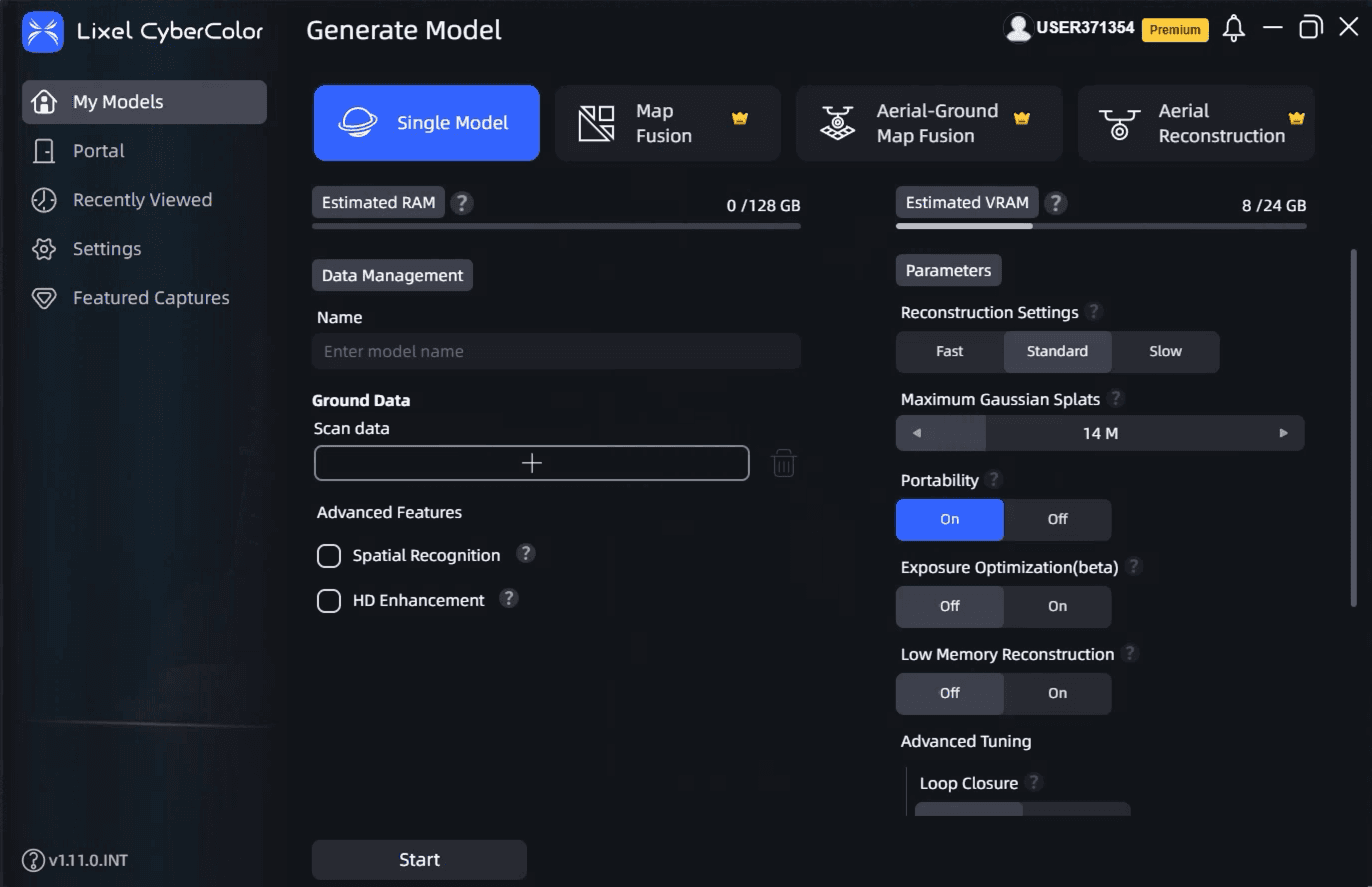
Splat Labs works with Gaussian Splats from any source (Postshot, XGRIDS, Kiri Engine, Luma AI, and more). Upload once, then build tours, share links, and embed — no app required.
Want more walkthrough and real estate content? See Virtual Tours: How to Profit with Gaussian Splatting and our case studies.