If you have captured a scene with an XGRIDS device — PortalCam or Lixel L2 Pro — and processed it in LCC Studio, getting it into Splat Labs Cloud takes just a few minutes. Export the project from LCC Studio, create a new project in Splat Labs, drag the folder in, and you are done.
This guide walks through each step.
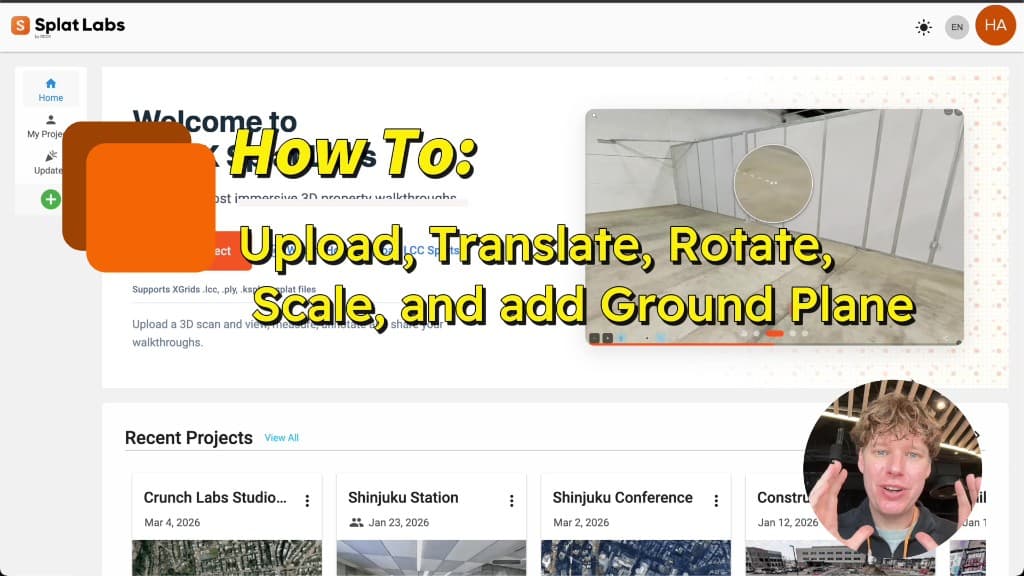
Watch the Full Tutorial
Full walkthrough: export from LCC Studio and upload to Splat Labs Cloud.
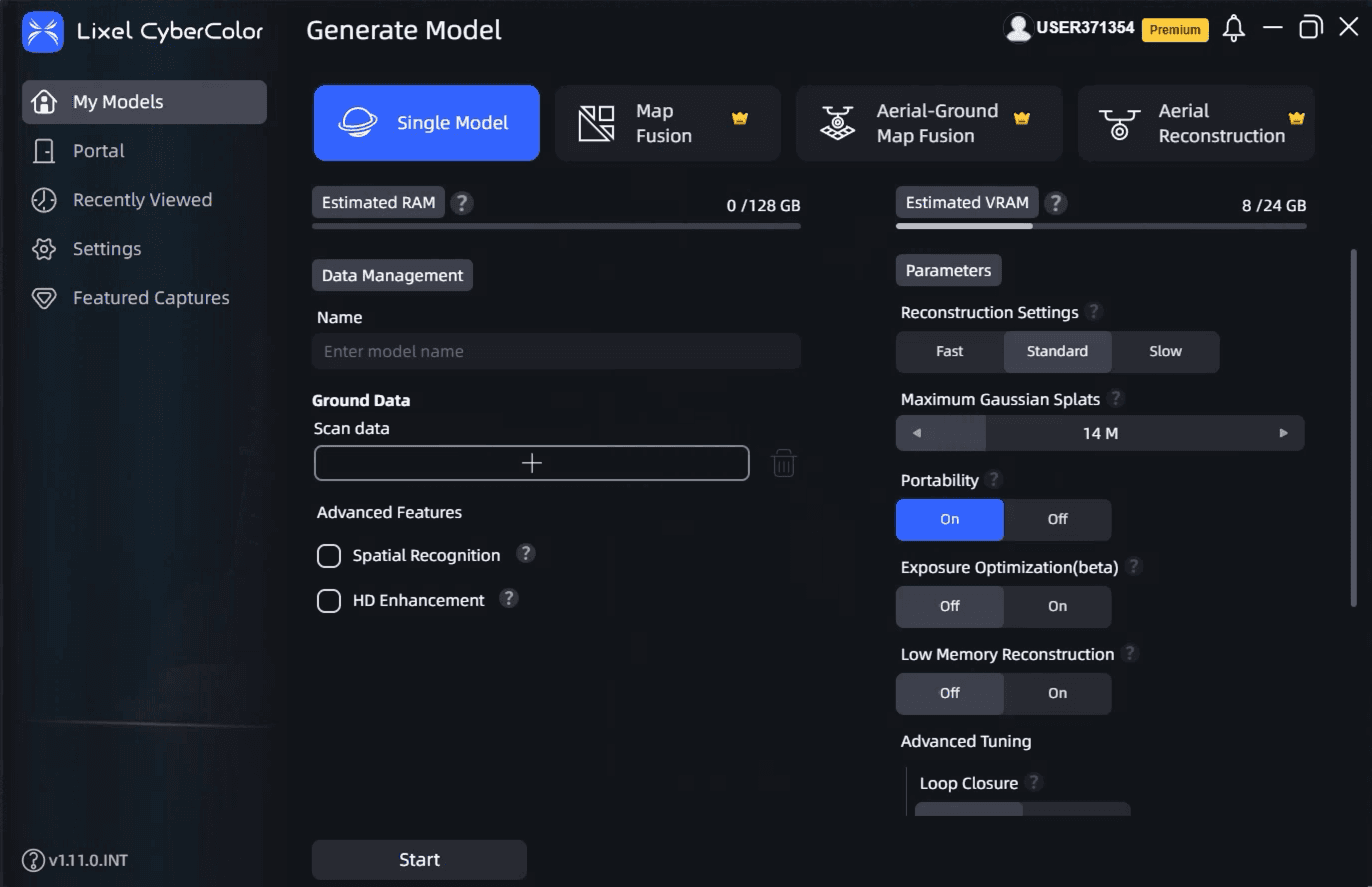
Step 1: Export From LCC Studio
Open LCC Studio and find the project you want to upload. Click the three-dot menu (⋮) next to the project name and select Export.
In the export dialog:
- Choose an export path — pick a folder on your computer where the exported files will be saved.
- Select either LCC or LCC2 as the export type — both are supported by Splat Labs. LCC2 is the newer format from XGrids with level-of-detail streaming and better performance on large scenes; LCC (v1) is the original format and works equally well for most projects. Either export type includes all the files Splat Labs needs: the Gaussian Splat data, collision mesh, metadata, and thumbnail.
Click Export and wait for the process to complete. LCC Studio creates a folder containing everything needed for the upload.
Step 2: Create a New Project in Splat Labs
Log in to Splat Labs Cloud and click Create Project in the left sidebar.
- Set the location — a map appears where you can place a pin at the location where the scan was captured. This helps organize your projects geographically and is useful when sharing with collaborators.
- Add a name — give your project a descriptive name so you can find it later.
- Add a description (optional) — include any notes about the scan, site, or purpose.
Click Continue to proceed to the data upload step.
Step 3: Upload the Export Folder
The Manage Data modal opens after creating the project. Click Add Project Data, then drag and drop the entire export folder from LCC Studio into the upload area. Do not pick individual files — Splat Labs needs every file in the folder to build the full 3D experience with collision support.
LCC (v1) exports contain files like:
warehouse.lcc(or similar.lccfile)collisions.lcidata.bin,environment.bin,index.binlog.txtthumb.jpegattrs.lcp
LCC2 exports contain:
warehouse.lcc2(or similar.lcc2file)data/3dgs/— one or more.sog/.spz/.plysplat filesdata/mesh/— paired.plyand.btreecollision-mesh filesinfo/poses.json(capture trajectory, used for the initial view)info/thumb.jpg
Drag the top-level folder in either case — Splat Labs reads the folder tree and picks up every file it needs. Once the upload finishes, click Save. Splat Labs processes the data and your project is ready to view.
What Happens After Upload
Splat Labs automatically converts the LCC export into a cloud-optimized format. Within a few minutes you can:
- View the 3D scene in the browser on any device
- Share a link with clients, stakeholders, or team members
- Embed the viewer on your website using an iframe
- Add annotations — pin documents, photos, and videos to specific locations in the scene
- Walk through the scene using first-person navigation with the included collision mesh
Quick Reference
| Step | Action |
|---|---|
| 1. Export | LCC Studio → three-dot menu → Export → select path → LCC or LCC2 format |
| 2. Create project | Splat Labs → Create Project → set location → add name → Continue |
| 3. Upload | Add Project Data → drag and drop the entire export folder → Save |